Photoshop CC 3D printing function trial experience
Recently, Adobe announced the addition of 3D printing to its flagship software product Adobe Photoshop Creative Cloud (CC). The 3D printing function integrated in Photoshop CC makes it easy for users to create, improve, preview, prepare and print 3D models, and adds support for multiple 3D printers. Recently, the new 3D printing function in Photoshop CC has been tested and the experience is as follows:
1, installation
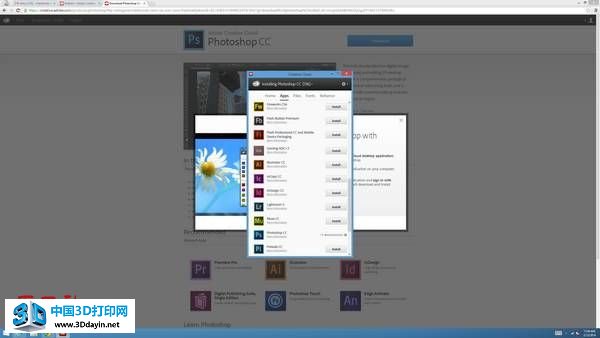
It took about 15 minutes to install Photoshop CC. Xiao Bian downloaded the entire Adobe Creative Cloud control panel, then opened it and clicked to install a 2.5GB Photoshop CC installation package.
2, interface
Photoshop's 3D editing tool operator interface is a bit trickier for beginners. It took a while to make it clear that to create a 3D model from scratch, first open a new layer, then right-click on the layer and select "New 3D Extrusion From Selected Layer." For PS masters, these may be very familiar.
The selection tab of the 3D layer is in the lower right of the traditional layer tool box. On this tab is a row of buttons that let you adjust the view of the 3D model through the grid, material, lighting, or the entire scene. If you select one of these views, not only does the visual effect of the model you see change, but the different options on the layer tool box above the property panel also open.
Other features - such as "New 3D Layer From File" allows you to add objects from existing files to the canvas, while 3D Print Settings allows you to preview your model before printing. This feature is at the top A 3D menu below the toolbar.
3, 3D creation and editing
Photoshop is not the best tool for creating 3D models from scratch. It is better at modifying. However, Photoshop also supports the creation of 3D objects from scratch. Its drawing tools are limited compared to some free software such as Blender or SketchUp. In Photoshop CC, you must first create your drawing in a 2D layer and then convert the layer to 3D.
It took us a while to figure this out, but creating a 3D object from scratch is still relatively simple, as long as you draw an overall shape (without spaces), or combine several shapes together in a new layer, and then click Right click on extruding. We used a brush tool to draw a square robot and "press". A few seconds later, our 2D robot became a thick 3D robot model.
You can also import ready-made models with 3D format files such as obj, STL, DAE (aka Collada) and edit them with Photoshop CC. We downloaded Dolma's Collada format from the 3D Warehouse and opened it in Photoshop (see below).

We chose coral whirlpool textures for the dolphins and then turned the dolphins' smooth gray skin into rough pink.

4, 3D printing integration
Adobe's most significant 3D feature update is the integration of Photoshop CC with a 3D printer. Users do not need to export the model from the software to a printer-compatible file, and then use the software on the printer to open it. You can export your file directly to a connected 3D printer or print it out through the Shapeways.com 3D print service. If you really want to print with another program, you can also export the model as an STL file.
Photoshop CC can display print previews based on the materials you have selected. It also automatically generates removable support structures so that your model does not crash during printing, and adjusts the minimum wall thickness according to the selected print and automatically. These features greatly reduce the probability of print failures.
Five 3D printers or services can be selected in the 3D printing setup, including 3D Systems Cube, MakerBot Replicator 2/2X, ZCorp Full Color, and Shapeways.com. You can also download and install third-party printer configuration files and import them into Photoshop. Print preview can faithfully reflect the print effect of the same model after selecting different printers.
For those who do not have their own 3D printers, you can choose Shapeways.com's online print service. Shapeways can support printing on 39 materials, including plastic, gold-plated copper, full-color sandstone, and stainless steel.
We tried to print a hexagonal model, but then was told that this model is too large for the selected printer and we should shrink it. We accomplished this task very easily: by clicking "Scale to print volume" on the 3D Print Settings panel, the model was adjusted from 16x14x16 inches to 7x6x7 inches.
5, summary
Adobe has realized that adding 3D model editing tools and built-in 3D printer support will greatly enhance the role of Photoshop. However, Adobe has a long way to go to make the relevant functions of 3D printing comparable to the rest of the software. However, Photoshop CC's 3D printer integration is easy to use. And users familiar with the original Photoshop will find that 3D tools are easy to master.
(Editor)